MAKING A MONOPRINT: STEP-BY-STEP
The following pictures illustrate
the process of making a small monoprint similar to the one that was
created in the video.
You will need to prepare a registration paper that will determine the
size of the final print. The registration lines are the size of the
paper and the size of the plexiglass marked in the way that the image
should appear on the paper.
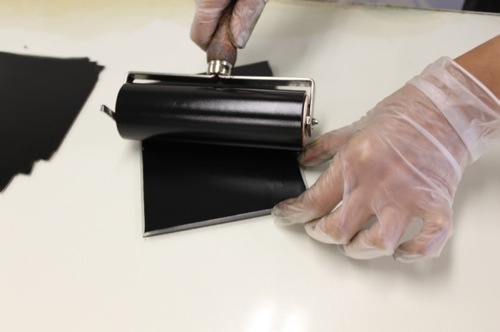
Step 1 - Using a brayer,
roll a thin layer of ink onto the plexiglass.
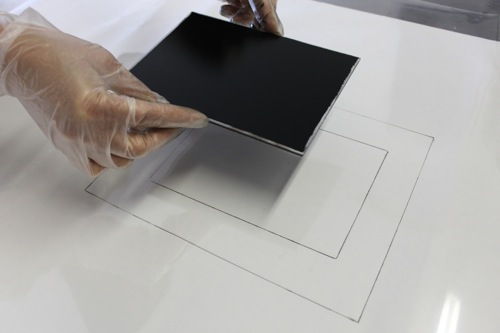
Step 2 - Place the inked plexiglass on the press bed according to the registration lines.

Step 3 - Compose the image by adding cut-out shapes or fabric to the plexiglass.
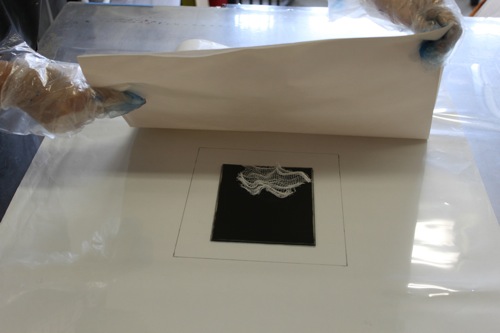
Step 4 - Cover the plexiglass with newsprint and felt blankets, making sure that everything is flat.
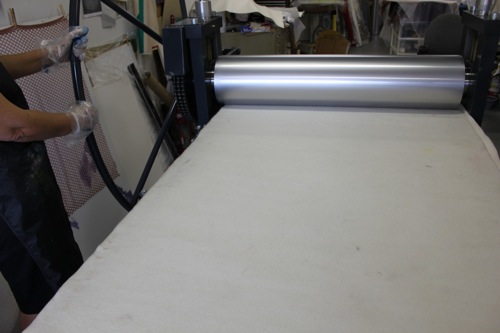
Step 5 - Roll the
plexiglass through the press.
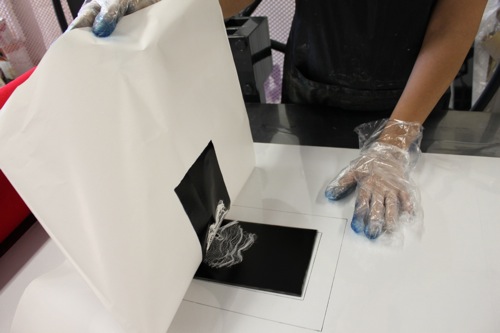
Step 6 - Carefully lift up
the felt blankets and the newsprint.
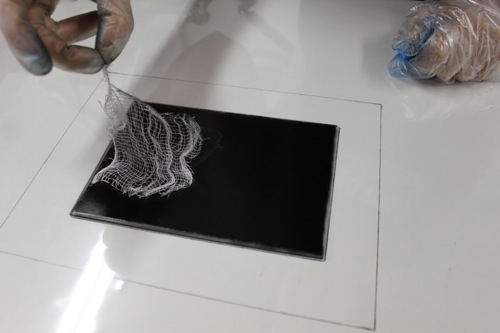
Step 7 - Carefully remove the fabric from the plexiglass to reveal the textured image on the plexiglass.
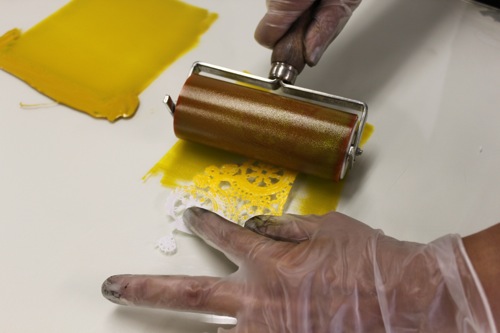
Step 8 - Roll a different color on another piece of soft material, such as fabric or a doily.

Step 9 - Place the doily
with the inked side up on the inked plexiglass.
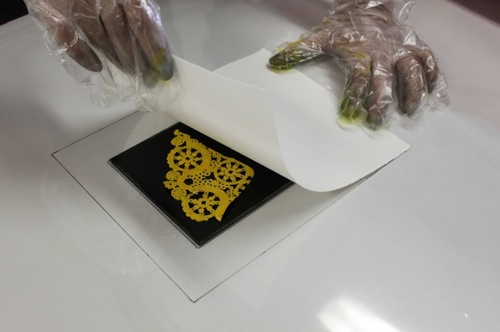
Step 10 - With clean hands or gloves, place the dampened paper over the plexiglass.
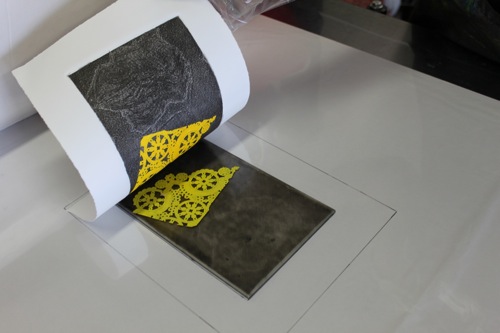
Step 11 -Lift the paper off
of the plexiglass.
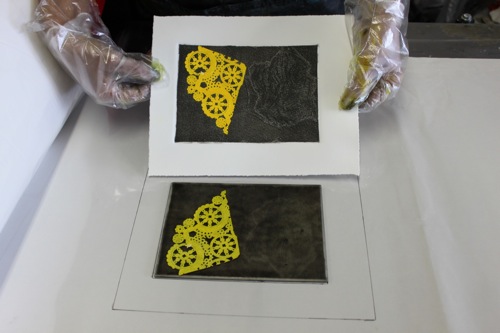
Step 12 - Here is the finished result! Let the monoprint dry up in a well ventilated area.
If additional imagery is desired, continue by adding more layers to the print using the same methods. Keep in mind the importance of accurate registration as layers are added.
There are many more videos about Monoprints and Orna Feinstein's other creations, as you can explore in the following links: